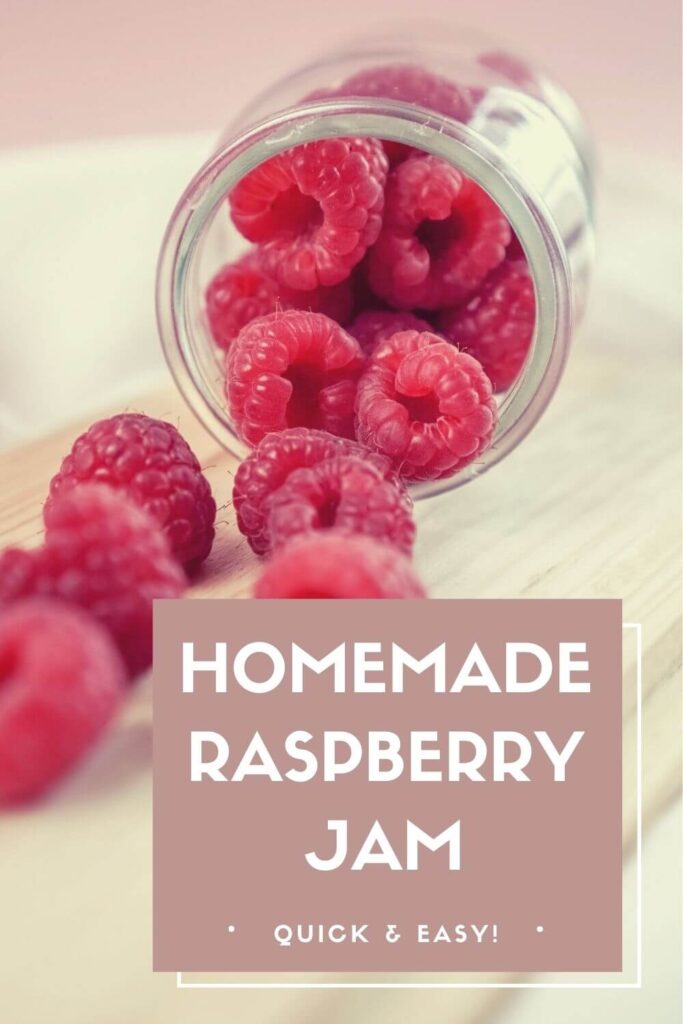
Homemade Raspberry Jam
Homemade Jam From Fresh Summer Raspberries
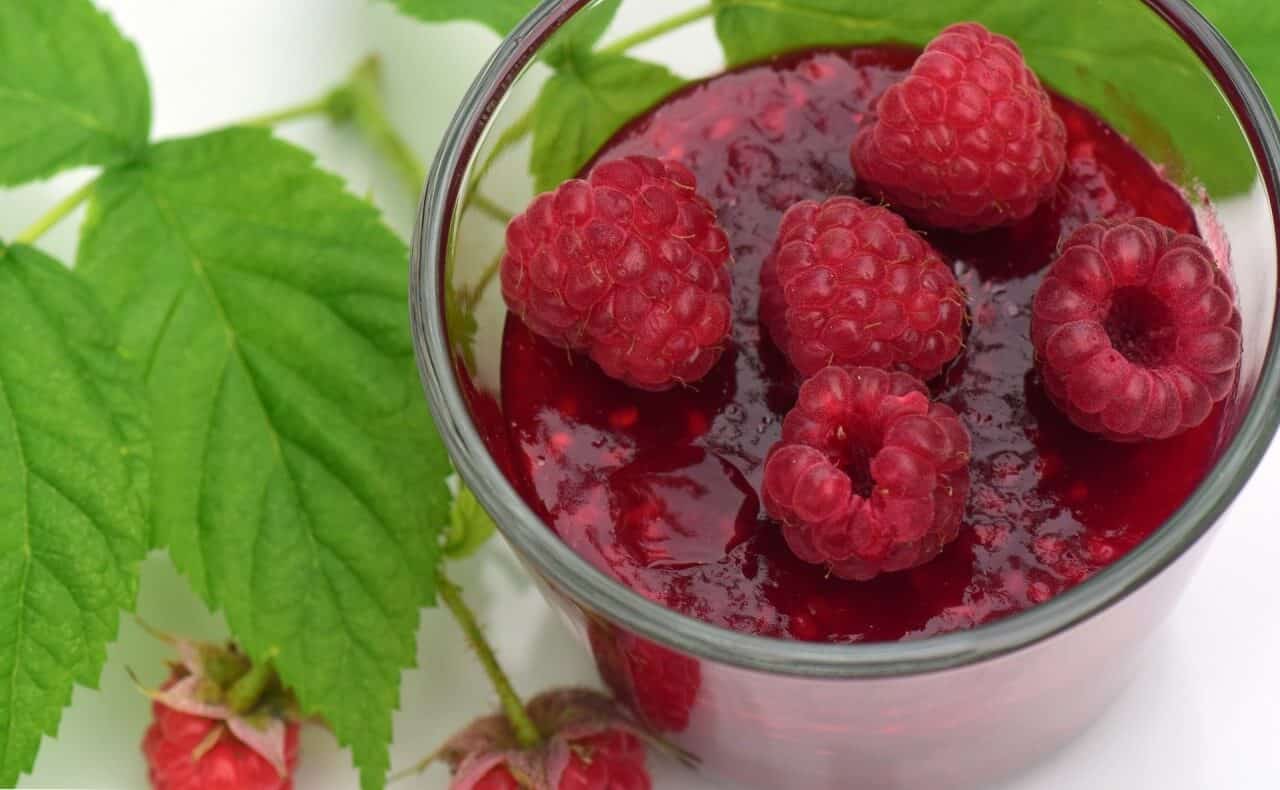
Summer fruits = amazing jam! If you have a glut of summer berries or soft fruits, there’s no better way to preserve them than turn them into delicious jams and jellies.
Homemade raspberry jam is the simplest of them all and is an easy way to get started with jam-making.
A delicious way to use fresh raspberries
If you’ve been fruit picking and got a glut of summer raspberries, you’ll know that they don’t keep for long. After you’ve eaten as many as you can, one of the best things you can do is turn them into raspberry jam.
Trust me – later in the year, when it’s dark and cold outside, and you’ve got a sweet, well-preserved jar of liquid summer to spread on your breakfast toast, you’ll be pleased you did.
Cheer Up Your Inbox
Brighten up your inbox by subscribing to the newsletter.
No pressure. And no spam.
Is raspberry jam hard to make?
If you think jam-making sounds hard / a lot of work / scary (boiling sugar – eek!) / all of the above, then raspberry jam is your friend. It’s by far the easiest jam to make.
For amazing homemade raspberry jam, you only need two ingredients: raspberries and granulated sugar. That’s it.
What’s more, it only takes about 15 minutes – and because raspberries are high in pectin, the jam sets easily. Basically, it’s a well-behaved recipe that never fails.
Two ingredients? That’s all?
Yep. Some recipes will include pectin or lemon juice, or oil. You might need those items for making other soft fruit jams such as strawberry, but raspberries really don’t need them. Keep it simple and you’ll have great homemade raspberry jam.
How to sterilise jars for jam
One step you can’t skip in making homemade jam is sterilising the jars beforehand, to get rid of any bacteria lurking in the jars or lids. If you don’t sterilise them you could end up with a jar of mould instead of jam. Luckily it’s really easy to do:
Whether you’ve bought new jars especially for your jam, or you’re re-using jars, the method is the same.
First, run the jars and lids through the dishwasher on a hot wash, or wash them by hand in hot, soapy water. Make sure both the jars and lids get a thorough clean.
Then, put your wet jars and lids on a baking tray and pop them in the oven for 15-20 minutes at about 160C. Keep them there until you’re ready to fill them.
Quick and Easy Homemade Raspberry Jam Recipe
Prep time: 5 minutes
Cook time: 15 minutes
Ingredients
2kg fresh raspberries
2kg white granulated sugar
Method
- Put an empty small plate or saucer in the freezer. You’ll use this to check if your jam is ready.
- Tip the raspberries into a large, heavy-bottomed saucepan and heat them on a medium heat, stirring often with a wooden spoon. They’ll soften and the juice will start to run.
- Bring the fruit to the boil, stirring all the time, and boil for 4-5 minutes.
- Add the sugar and bring back to the boil, again stirring all the time. Once at boiling point, boil for 5-6 minutes. Never leave the pan! It could boil over really quickly if you leave it unattended.
- Turn off the heat and put a spoonful of jam onto your chilled plate and let it cool for a minute. Push the tip of your finger through the jam. If it wrinkles on the surface (and looks like jam!) it’s ready. If it’s still liquid and doesn’t wrinkle, it’s not ready.
- If it’s not ready, turn the heat back on and bring to the boil. Boil for another 2 minutes and do the test again.
- Once it’s ready, turn off the heat.
- Get your jars out of the oven and use a ladle to fill them with jam. Screw on the lids tightly and leave to cool.
Homemade Raspberry Jam Tips
- Don’t overboil your jam as this can mean it’s either harder to set or it can become too thickened and hard.
- If you get some scum on the surface of the boiling jam, just leave it until the heat’s turned off. Then you can easily remove it with a metal spoon.
- It’s easier to fill your jam jars if you get a metal funnel. If you use one of these, sterilise it along with your jars.
- You might have seen jam kits with discs of waxed paper to cover the surface of the jam before sealing. I find these are just an extra place for bacteria to hide because you can’t sterilise them before use. Just sterilise your jars as above and you’ll be fine.
- Store the jam in a cool dark place or in the fridge. It should easily keep for 6-12 months. It may darken in colour as it ages but this won’t affect the quality.
You might also like:
Follow Almost The Weekend: